Sunday, July 12, 2009

New Shed Doors

Many of the wooden sheds have doors that are rotting or do not fit properly. Recently my son and I built new doors for a shed. We do a variety of carpentry jobs in our handyman business. On this job, we were able to drive the van close to the shed, which made unloading materials and tools much easier.

We framed and sheathed the doors and installed the trim. Then we attached the hinges and the latch, which will be used with a padlock. We also built a small ramp for the lawn tractor. The old doors and scraps were placed in the van to be taken to the landfill.

The photos below show us at work in our handyman business. The first photo is of my son, Jim using our saw to cut trim for the shed doors. In the second photo, I am installing the latch. The third photo shows the completed doors; before, the doors and shed are prepared for priming and painting.


Photobucket


Photobucket


Photobucket

Friday, July 3, 2009

Reversing the swing of a door

I recently did a small carpentry job so that an interior door that opened into a room would open out instead. I have reversed the swing of both interior and exterior doors many times over the years. As a handyman and carpenter, I enjoy working on doors.

On this door I reversed the swing without removing or disturbing the jamb or the door trim. I first removed the door, hinges and door stops. I mortised the jamb on the outside with a chisel and mallet for the hinges and I installed the leafs of the hinges in the new locations. Then, I reversed the position of the other leafs of the hinges on the door after also using the mallet and chisel.

Next, new stops were attached to the jamb and the stike bore for the door knob was drilled. The knob was installed and the strike plate. The old mortise positions for the hinges and the strike area needed to be patched before painting. The door now opens out, instead of swinging in and it works very well.

The photos below illustrate the reverse of the swing of the door.


Photobucket


Photobucket

Wednesday, July 1, 2009

Carpentry: Pass Through

Recently we finished a carpentry job which consisted of building a pass through in the wall between the kitchen and dining room. Like many of the older homes , the walls were plaster and the dimensions of the framing was a little different than the lumber that is currently available.

Cutting out the wall for the initial demolition was a bit more difficult than working with sheetrock walls. The plaster is harder to cut through and messier than modern drywall. We determined that the wall was not load bearing.

We framed the wall to match the original arch that is located between the living room and dining room and covered the new framing with sheetrock after making adjustments for the thickness of the old wall. The customer obtained a very nice wooden piece that we used as the counter top. The result is a custom made , one of a kind improvement to a very solid house.

In the first photo below, the cut out for the pass through is shown. In the second photo, the job is almost complete, except for priming and painting of the walls, staining the counter top and installing the brackets for the counter top.


Photobucket

Photobucket

Friday, June 12, 2009

How to hang a wood exterior door

A customer called me to install a wood door for her home. Carpentry is a big part of my Handyman Business. I have installed many wood doors, especially in homes where the doors are not of standard size. A wood door can be cut to fit an opening that is not standard. At one time, I installed so many wooden doors, that I had to buy hinges in quantaties of 50 at a time.

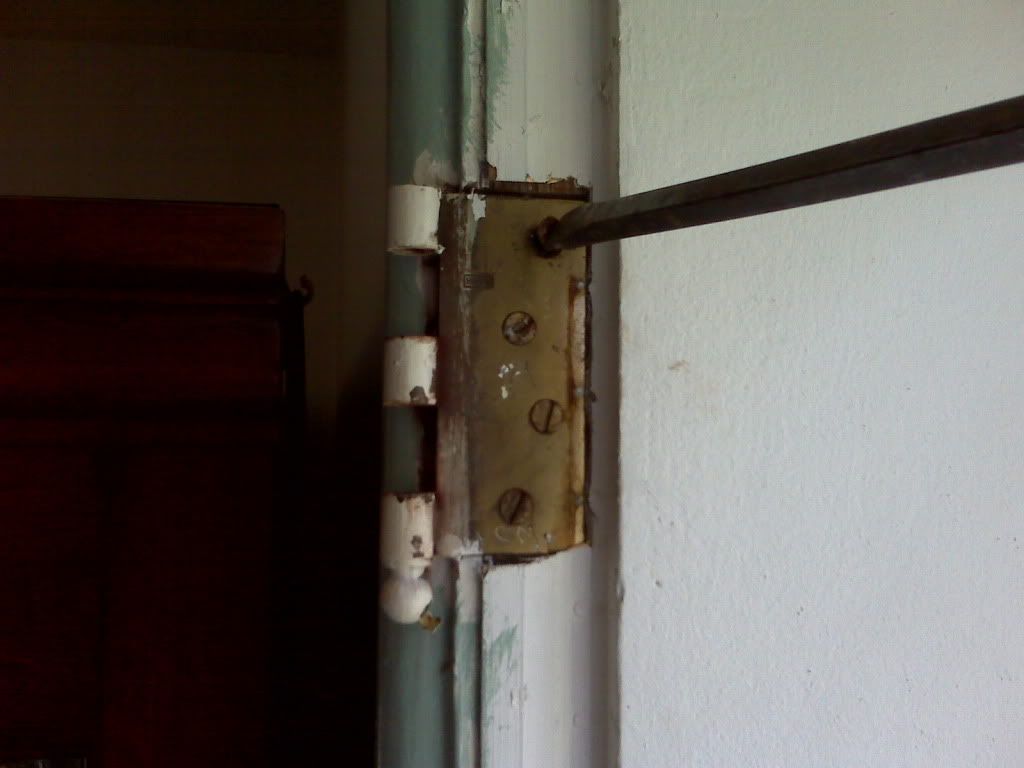
I began by taking out the hinge pins, removing the old door and then removing the hinge leaf on the door jamb. You can see the old straight slot screws in the hinge.


Photobucket

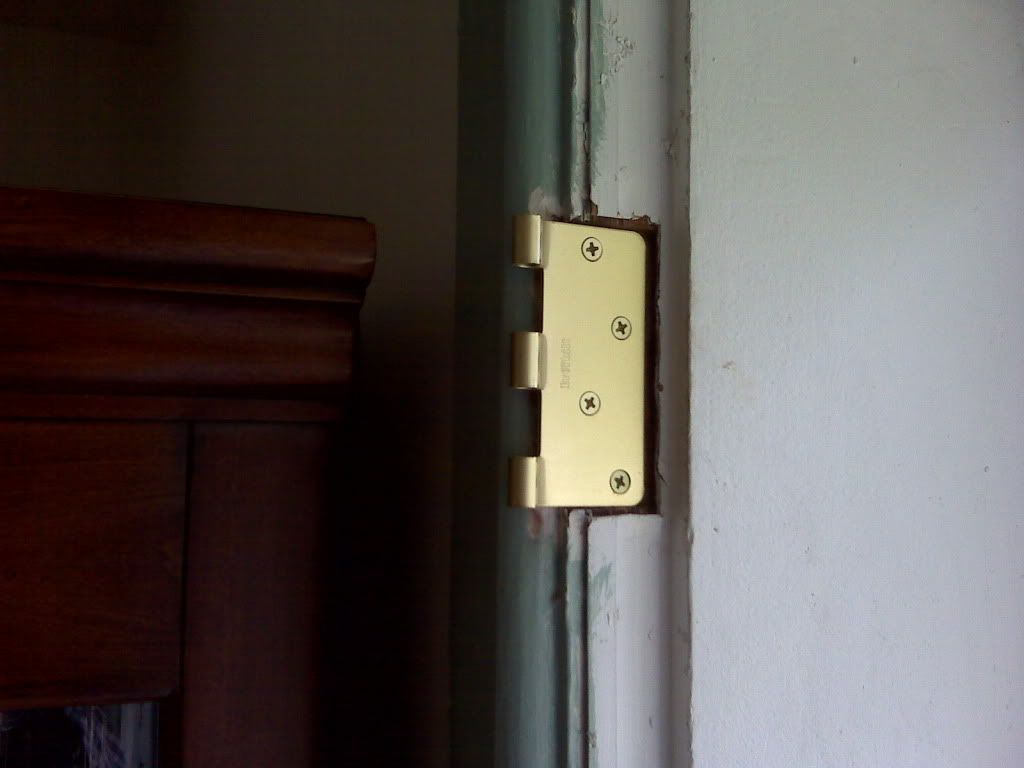
Next, the leaf of the new hinges were attached to the jamb.


Photobucket


I took exact measurements and cut the new door to fit the opening. Then, I placed the new door in to the opening and marked for the hinge locations. I outlined the hinge location on the new door.


Photobucket


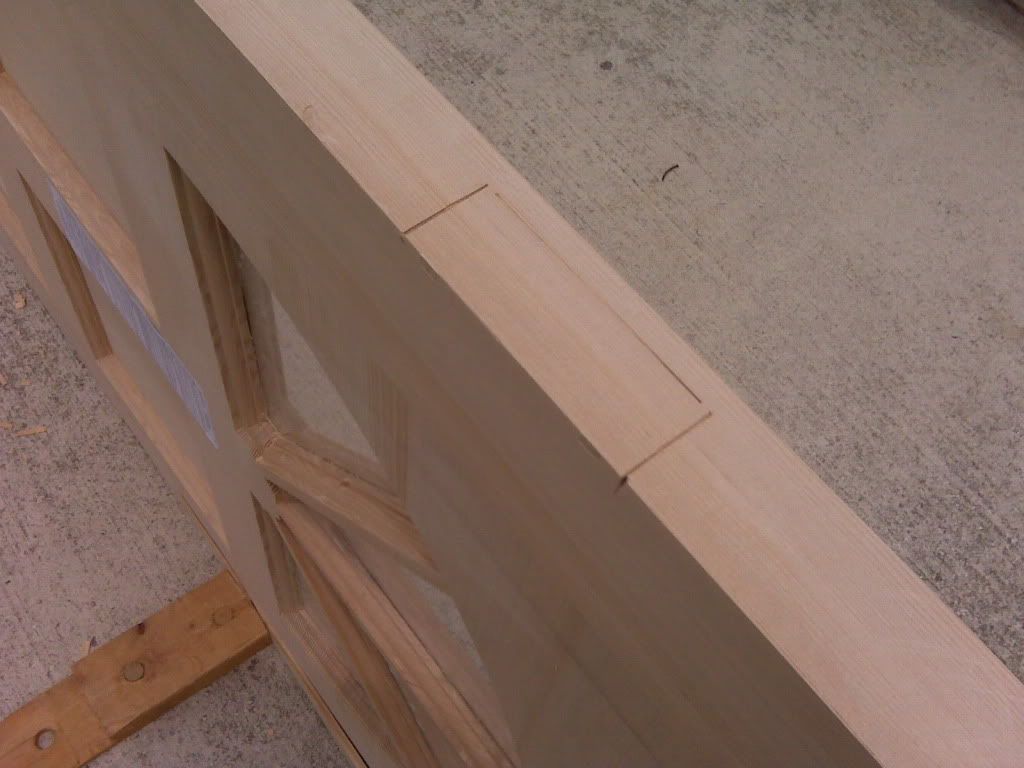
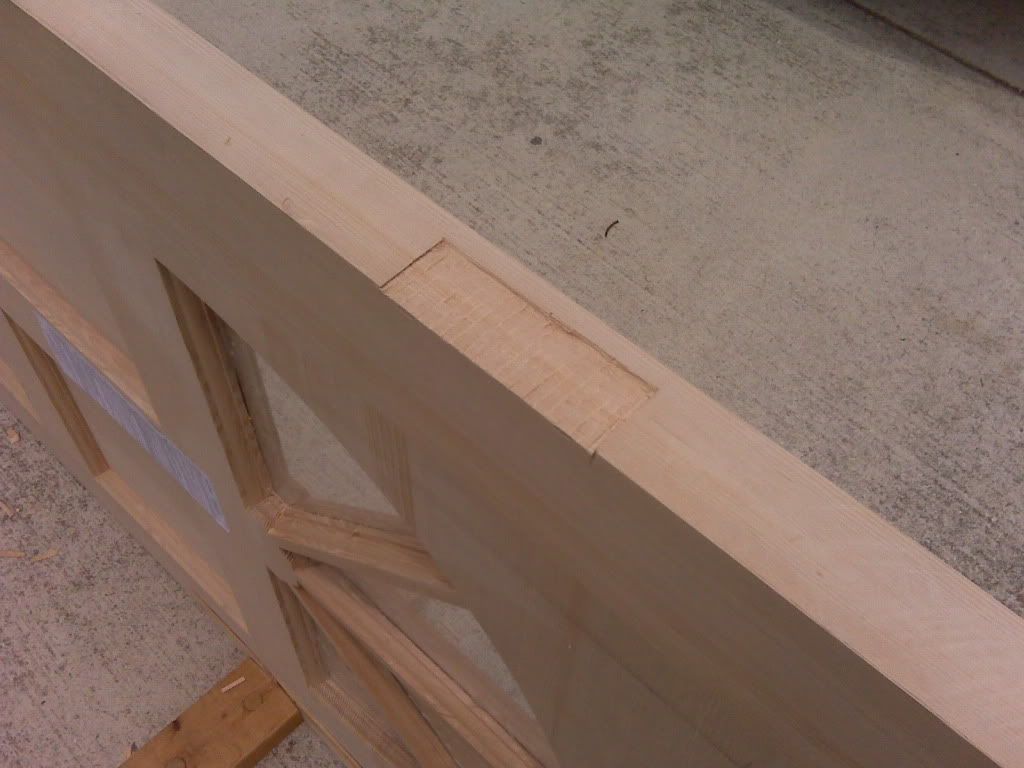
I like to use the old time methods for mortising out for the hinges, so I made a series of cuts with a chisel and mallet.


Photobucket


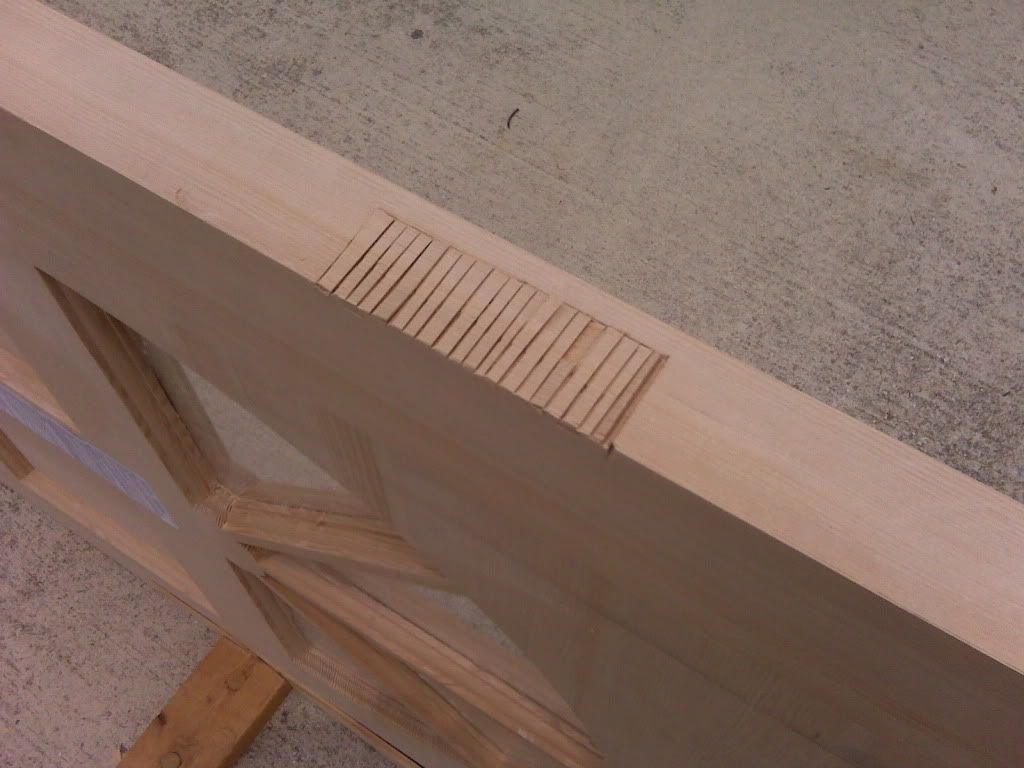
Then the area with the series of cuts was cleaned out with the chisel to complete the mortise.


Photobucket


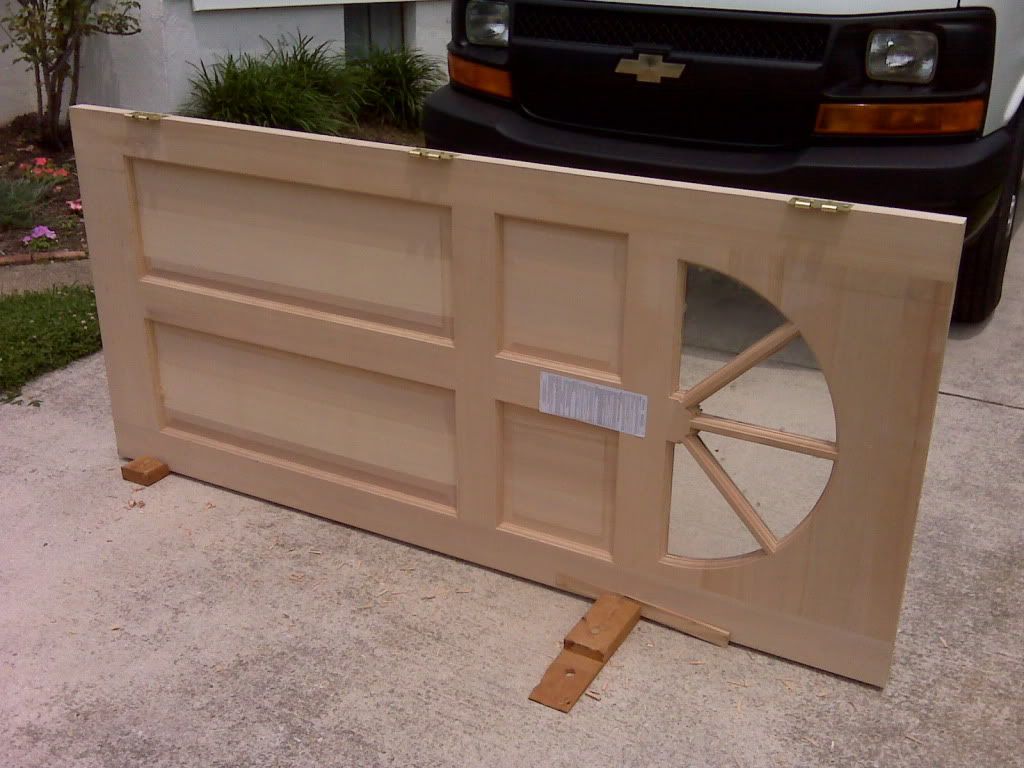
In the next photo, you can see the three new hinges installed on the new door.

Photobucket


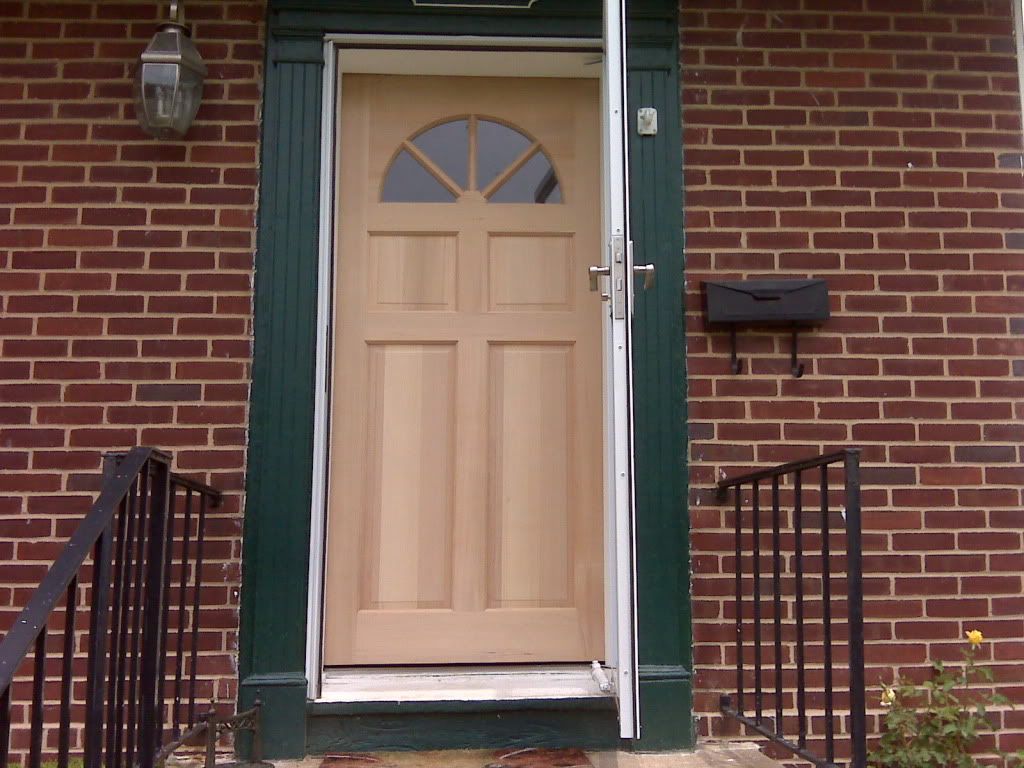
Here is the door hung in the opening, before the knob lock and deadbolt lock, weatherstripping and door bottom sweep were installed

Photobucket


The next photo shows the new door with the knob lock, deadbolt lock and weather stripping installed.

Photobucket


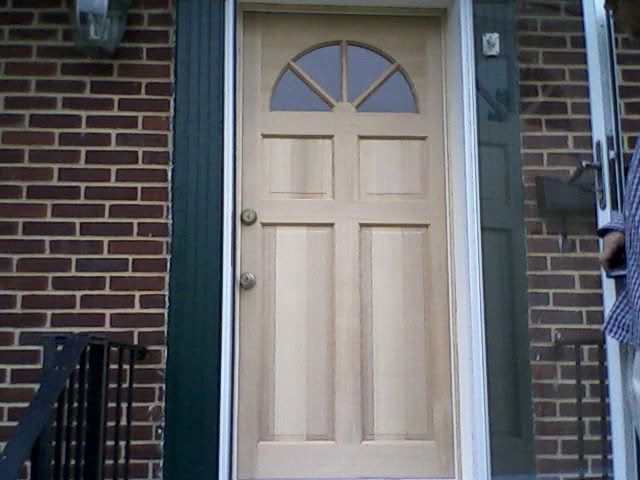
In the final photo, the door bottom sweep is installed and the door installation is complete. Now, the new door is ready for stain or primer and paint.


Photobucket

Sunday, June 7, 2009

Lock and Hinge Lubrication

Many of the homes have locks and hinges that have not been lubricated in a long time. Sometimes my handyman customers call me to repair or replace locks that could have continued to work properly, if they just would have received regular lubrication. Doors will also function better, if the hinges have periodic lubrication.

The changes in temperature and humidity that occur in have an effect on the mechanism of locks and hinges. When the locks and hinges dry out too much, friction is created between the moving parts, causing wear.

In the past, graphite was recommended as a lubricant. We don't use graphite anymore, nor do we use oil. Too much graphite and even a little amount of oil can clog the lock with enough debris to cause more harm than good. I always use WD -40 because it cleans as it lubricates, it does a great job and it is easily available. I have seen WD-40 work wonders on some locks that weren't operating properly. Of course, lubrication must be used on a regular basis and for some neglected locks, there is no alternative except replacement.

When lubricating a lock, I squirt WD-40 into the keyway and also onto the latch. Then I work the key in and out and clockwise and counterclockwise a few times to reach the pins and springs inside the lock. I also work the latch back and forth a few times with the door open, so that I can observe the movement of the latch.

The hinge is lubricated along the barrel and then the door is partially opened and closed several times as the swinging back and forth helps to spread the lubricant.

The three photos below, I show the correct points for the lubricant to be sprayed for the lock keyway and latch and the hinge barrel.


Photobucket

Photobucket


Photobucket

Tuesday, May 19, 2009

Growing Pepper Plants from seed

Pepper plants can be started from seed, beginning around March indoors. The plants can then be planted outside in the garden in mid to late May. Pepper seeds can be stated in many types of containers, such as seed flats or small cups. This years our pepper plants were started in a seed flat in a sunny window. Peppers love heat and the environment on the window sill helped the seeds to germinate. As soon as the seedlings emerged, we transferred them to cups to allow more room for growth. The seedlings were then moved to our growing light station.

We use the growing light station at this point because, if the seedlings were left on the windowsill there would not be enough light for good growth and the plants would become leggy or too elongated and thin. The growing light station consists of a standard shop light and a small platform with a height adjustment rack that holds the shop light, which can be raised or lowered very easily. The wood for the platform came from scraps of wood, left over from some of my jobs as a handyman.

In the first photo the pepper seedlings in the growing light station are shown. In the second photo the seedlings are outside ready to be planted in the garden.


Photobucket

Photobucket

Friday, May 15, 2009

Broccoli

Having a square foot garden is a good project for everyone. Raising your own vegetables takes a little time, but it is well worth the effort. This year we are growing broccoli, swiss chard, kale, tomatoes, peppers and potatoes. We also have some permanent beds of two varieties of mint.

Having a vegetable garden is a natural pastime for a handyman. The Photos show the broccoli plants in our garden.


Photobucket

Photobucket